Caring for houseplants looks simple from the outside: a little water, a bright window, and you’re done. Then you notice yellow leaves, crispy brown tips, or a plant that slowly collapses in its pot—and suddenly it feels like guesswork. Most of the time, the plant is already telling you what’s wrong. You just need a repeatable way to read the signs.
The Royal Horticultural Society puts it plainly: “Plants that are unsuited to the conditions are unlikely to survive let alone thrive in the long term.” RHS
This guide is built like a home “plant clinic”: quick checks first, then targeted fixes. You’ll learn how to diagnose yellow leaves, brown tips, mushy roots, pests, and diseases—without panic-watering or random fertilizing.
- Do a fast 5-minute health check (soil, roots, light, pests)
- Tell overwatering from underwatering (and why they can look similar)
- Rescue early root rot the right way
- Fix brown tips caused by salts, dry air, or water quality
- Spot common pests (spider mites, mealybugs, scale) before they explode
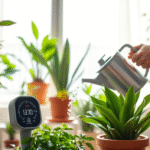
Start Here: The 5-Minute Houseplant Health Check
Before you change anything, do this quick check. It prevents the classic mistake: adding water to a plant that’s already drowning (or adding fertilizer to roots that can’t absorb it).
- Lift the pot: heavy usually means wet; light usually means dry. (Not perfect, but useful.)
- Check soil deeper than the surface: push a wooden skewer/chopstick down near the edge, pull it out, and look for damp soil sticking to it.
- Look under leaves + along stems: pests hide where you don’t look first.
- Check drainage: is there a drainage hole, and does water actually exit when you water?
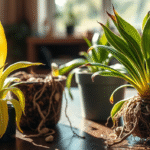
- If symptoms are serious: slide the plant out and inspect roots. Healthy roots are firm; rot is dark, soft, and often smells. SDSU Extension
Quick Diagnosis Cheat Sheet
| What you see | Fast check | Most likely cause | Best first move |
|---|---|---|---|
| Yellow leaves + soil wet for days | Skewer test stays damp | Overwatering / low oxygen / poor drainage | Pause watering, improve drainage, consider repot |
| Yellow leaves + soil bone-dry | Skewer comes out clean/dry | Underwatering / hydrophobic soil | Soak thoroughly, let drain, then water by moisture |
| Brown tips on many leaves | White crust on soil/pot? | Salt buildup, water quality, dry air | Flush soil, adjust fertilizer, improve humidity |
| Wilting but soil still wet | Roots smell bad or mushy | Root rot | Unpot, trim rot, repot in fresh mix |
| Fine webbing / speckled leaves | Look under leaves | Spider mites | Rinse, isolate, treat with soap/oil |
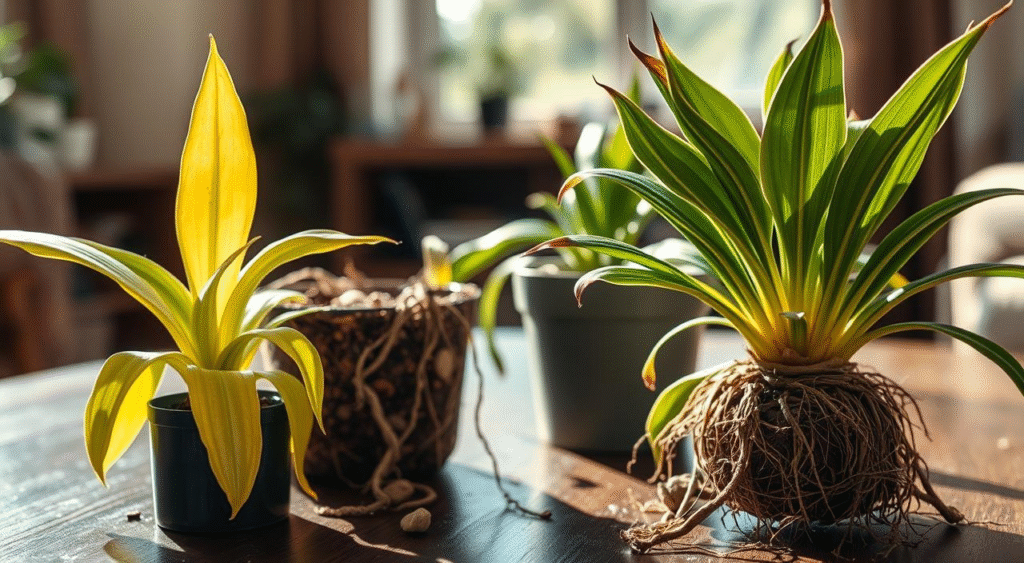
Yellow Leaves: The Real Causes (and the Fix That Matches)
Yellow leaves are a symptom, not a diagnosis. The correct fix depends on where the yellowing starts and what the soil and roots look like. Clemson notes that over- and under-watering can show similar above-ground symptoms because both damage roots. Clemson HGIC
1) Overwatering (the most common culprit)
If the mix stays wet for a long time, roots lose oxygen and decline. That can trigger yellowing, wilting, and leaf drop. Clemson explains overwatering reduces oxygen available for root growth and favors root diseases. Clemson HGIC
- Signs: yellow leaves (often lower/inner), limp growth, soil stays damp, fungus gnats, sour smell, mushy stems near the soil.
- Fix: stop watering until the mix dries, empty saucers, improve light/airflow, and repot into fresh, well-draining mix if the soil stays wet for days.
2) Underwatering (or soil that won’t re-wet)
Very dry soil can cause yellowing and leaf drop too—especially if the plant repeatedly gets “dust dry.” Some mixes also become water-repellent when they dry out, so water runs down the sides instead of soaking in.
- Signs: pot feels very light, soil pulls away from the pot edge, leaves droop and feel thin or papery.
- Fix: water thoroughly until it drains, wait 10 minutes, then water again so the root ball rehydrates evenly.
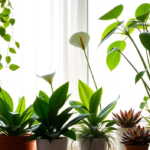
3) Light mismatch (too dark is more common than too bright)
RHS notes many leaf problems are cultural and often solved by moving the plant to a more suitable position. RHS If a plant is in low light, it uses water slowly and is easier to overwater.
- Fix: move closer to brighter indirect light and reduce watering frequency.
4) Nutrient issues (only after you confirm roots are healthy)
Nutrient deficiencies can cause yellowing patterns (chlorosis), but they’re usually secondary indoors—often linked to old, compacted compost or roots that can’t function. RHS explains interveinal chlorosis can indicate nutrient issues; iron tends to show first in younger leaves, while magnesium symptoms often start on older leaves. RHS
| Pattern | What it can suggest | Smart next step |
|---|---|---|
| Older/lower leaves yellow first | Nitrogen stress, aging leaves, or chronic watering problems | Check roots + drainage first, then consider light feeding |
| Young leaves yellow with greener veins | Iron-related chlorosis often linked to pH/uptake | Confirm care basics, then consider a micronutrient fertilizer |
| Yellowing between veins on older leaves | Possible magnesium-related chlorosis | Confirm care basics and avoid overcorrecting fast |
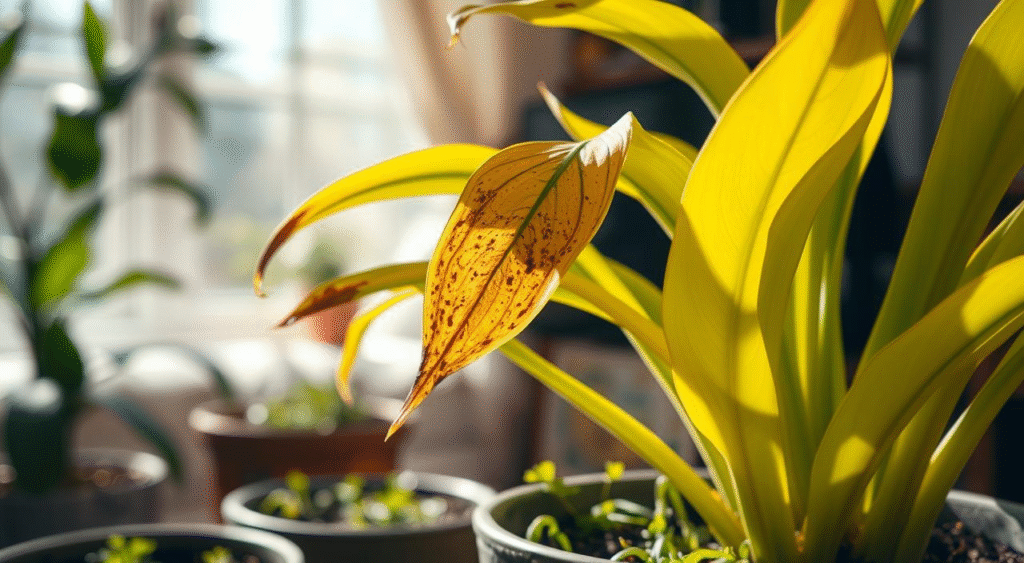
Brown Leaf Tips: Dry Air, Salts, or Water Quality?
Brown tips are common—and usually fixable. Clemson lists major causes: hot, dry air; improper watering; insect feeding; and salt accumulation. It also notes that white/gray crust on the soil or pot rim is a clue for salt buildup, and that some houseplants are sensitive to fluoride or chlorine in tap water. Clemson HGIC
1) Salt buildup (often from fertilizer + hard water)
If you see crust on the soil surface or pot rim, assume salts are involved. Clemson explains salt buildup can damage roots and lead to reduced growth and brown tips. Clemson HGIC
- Flush the pot: run room-temperature water through the pot for 1–2 minutes, let it drain fully, and empty the saucer.
- Pause fertilizer: wait for new healthy growth before feeding again.
- Refresh the top layer: scrape off crust and replace with fresh mix (or repot if the soil is old/compacted).
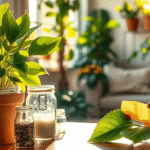
2) Water quality (chlorine vs chloramine)
Letting tap water stand can help reduce chlorine for some situations, but it won’t remove chloramine. The CDC notes you can remove chlorine by letting water sit out for a few days, but you cannot remove chloramine that way. CDC
- Best “safe” move for sensitive plants: use filtered, rain, distilled, or reverse-osmosis water for a few weeks and compare new growth.
- If you keep using tap: flush the soil occasionally to prevent buildup. Clemson HGIC
3) Low humidity and hot/dry airflow
Dry air (especially winter heating) can crisp tips on humidity-loving plants. If you’re fixing humidity, focus on what actually changes the room: a humidifier, grouping plants, and keeping them away from radiators/vents.
Tip: Pebble trays can help a little at leaf level, but they won’t replace a humidifier in a dry home.
Trim for looks (but don’t chase perfection)
Brown tips won’t turn green again. You can trim the dead edges with clean scissors for appearance—then focus on preventing new damage with flushing, better water, and steadier moisture.
Mushy Roots and Root Rot: Rescue Steps That Work

Root rot usually starts as a watering + oxygen problem and becomes a pathogen problem later. Healthy roots need both water and oxygen; when soil stays waterlogged, roots decline and can rot. Clemson HGIC
South Dakota State University Extension describes classic root-rot signs: the plant wilts even when soil is moist; leaves may yellow; roots look mushy and brown and can smell. If enough healthy roots remain, rinse and repot in a clean container with drainage and new soil. SDSU Extension
Emergency Root Rot Treatment (Step-by-Step)
- Unpot the plant and gently remove as much wet soil as possible.
- Inspect and trim: cut off dark, mushy, hollow, or smelly roots with clean scissors.
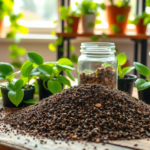
- Use fresh, well-draining mix in a pot with a drainage hole. Root rot prevention relies on well-drained potting mix and avoiding excess watering. Iowa State Extension
- Water once to settle the mix, then let it dry more than usual before the next watering.
- Reduce the risk factors: brighter (indirect) light, warmer temps, and better airflow help the mix dry at a safer pace.
Two root-rot mistakes that keep happening
- Overpotting: a pot that’s much larger can keep compost wet too long. RHS explains overpotting can cause problems when plants aren’t growing strongly or when there’s a tendency to water too much. RHS
- Trying to “fix” wilt by watering more: rotted roots can’t take up water, so the plant looks thirsty even in a wet pot. If a plant wilts while soil is wet, inspect roots. SDSU Extension
Other Common Problems (and the Most Efficient Fix)
Leggy growth (long stems, small leaves)
Legginess is almost always a light issue: the plant is stretching for brightness. Move it closer to a brighter window (indirect light for most houseplants) and rotate the pot weekly so growth stays even.
Leaf drop
Leaf drop is commonly linked to watering swings, pot issues, or sudden environment changes. Clemson notes both over- and under-watering can cause leaf drop, and that significant changes in environment can cause temporary leaf drop. Clemson HGIC
- Fix: stabilize watering (by soil moisture, not the calendar), keep away from drafts/vents, and avoid frequent moving once it’s in a good spot.
Stunted growth
If light and watering are correct, stunted growth is often old compost (collapsed, poorly drained), rootbound plants, or no nutrients during active growth. RHS notes compost slumps as organic materials break down, reducing air spaces and limiting healthy growth. RHS
- Fix: repot into fresh mix if the soil is old/compact, go one pot size up if roots are crowded, then feed lightly in the growing season.
Pest Identification and Treatment (Indoor-Safe, Practical)
Most infestations get bad because they start small and go unnoticed. Isolate the plant first, then treat. Aim for repeatable control, not a one-time “nuke.”
Spider mites
Spider mites are tiny and often show up as stippling (tiny pale dots) and fine webbing. UC IPM notes that sprays of water plus insecticidal soaps or oils can be used for management (cover undersides of leaves). UC IPM
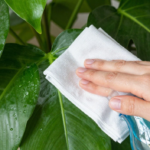
- First response: rinse the plant (especially undersides) and wipe leaves clean.
- Treatment: insecticidal soap or horticultural oil, repeated weekly for a few rounds to catch new hatchlings.
Mealybugs
Mealybugs look like white cottony clusters in leaf joints and along stems. UC IPM notes insecticidal soaps, horticultural oils, and neem oil applied directly to immature mealybugs can reduce numbers, and recommends avoiding broad-spectrum insecticides that harm natural enemies. UC IPM
- First response: isolate and manually remove with a cotton swab.
- Treatment: insecticidal soap/oil on the whole plant, repeat because hidden “crawlers” keep emerging.
Scale insects
Scale often looks like small bumps stuck to stems or leaf undersides. UC IPM notes horticultural oil can be effective when sprayed thoroughly, timed to the vulnerable crawler stage. UC IPM
- First response: scrape off gently (they’re armored) and wipe the area clean.
- Treatment: horticultural oil, repeated as needed, plus continued inspection.
Diagnosing and Treating Plant Diseases (Without Overreacting)
Many “diseases” on houseplants are actually environmental problems (watering, airflow, light). Clemson notes diseases aren’t common on most houseplants indoors because conditions often aren’t favorable for pathogens—but prevention and hygiene still matter. Clemson HGIC
Fungal leaf spots and mildew
Remove infected leaves, improve airflow, and avoid splashing water on foliage. Clemson specifically advises avoiding misting leaves for certain fungal problems and avoiding splashing water because it spreads fungi. Clemson HGIC
Bacterial spots (water-soaked lesions)
Remove infected material, keep foliage dry, and sanitize tools. If it’s spreading fast, isolate the plant immediately. Clemson HGIC
Mastering Houseplant Care: Prevention That Actually Prevents
Most long-term success comes from boring consistency: good drainage, stable light, and watering based on soil moisture—not habit. The RHS “poorly houseplant” guide recommends taking a closer look to understand why a plant isn’t thriving, then tweaking environment and care. RHS
A simple routine you can keep
- Every few days: quick scan (new spots, droop, pests under leaves).
- Weekly: moisture check before watering; empty saucers after watering.
- Monthly: wipe dust from leaves, rotate pots, check for salt crust, inspect the pot’s drainage hole.
- Seasonally: water less in winter (slower growth, slower drying), and only fertilize during active growth.
Conclusion
Houseplants don’t “go bad” overnight. Yellow leaves, brown tips, droop, and mushy roots are messages. When you follow a simple order—check soil, check drainage, check roots, check light, check pests—you stop guessing and start correcting the real cause.
If you remember one rule, make it this: don’t change two variables at once. Fix water and drainage first, then adjust light, then nutrients. Plants recover on a plant timeline—usually weeks, not days.
FAQs
1) Why are my houseplant leaves turning yellow?
Most often, yellowing is linked to overwatering or low oxygen around the roots, but underwatering, low light, pests, and nutrient issues can also cause it. Clemson notes both over- and under-watering can produce similar symptoms because both harm roots. Clemson HGIC
2) How do I fix brown tips on indoor plants?
Check for salt crust, review fertilizer frequency, and consider water quality (hard water, fluoride/chlorine sensitivity). Clemson lists dry air, improper watering, insects, and salt accumulation as common causes and suggests leaching salts periodically. Clemson HGIC
3) How do I know if I’m overwatering?
If the soil stays wet for days, the pot feels heavy, and leaves yellow or wilt, suspect excess moisture. University of Maryland Extension notes plants exposed to excess moisture can show symptoms similar to root rots or drought stress, including wilting/yellowing of lower leaves. University of Maryland Extension
4) How can I save a plant with root rot?
Unpot, remove wet soil, trim mushy roots, and repot in fresh, well-draining mix in a pot with drainage. SDSU Extension recommends inspecting roots and repotting in a clean container with a drainage hole and new soil if enough healthy roots remain. SDSU Extension
5) Does letting tap water sit overnight remove “chemicals”?
It can reduce chlorine over time, but it will not remove chloramine. The CDC notes you cannot remove chloramine by letting water sit out. CDC
About the author
Mohammed zandar (yup.work90) writes practical, research-backed indoor plant guides for real homes. His focus is on simple care systems you can repeat: drainage, soil structure, light placement, and watering habits that keep plants healthy long-term.
Sources
- RHS – Leaf damage on houseplants
- RHS – How to help a poorly houseplant
- RHS – Chlorosis (nutrient-related yellowing)
- RHS – Overpotting
- Clemson HGIC – Indoor Plants: Watering
- Clemson HGIC – Houseplant Diseases & Disorders
- Clemson HGIC – Indoor plants: fertilizing and salt buildup notes
- South Dakota State University Extension – Troubleshooting common houseplant problems
- Iowa State Extension – Root rots of houseplants
- University of Maryland Extension – Symptoms of overwatered indoor plants
- UC IPM – Spider mites (Quick Tips)
- UC IPM – Mealybugs (Home & Landscape)
- UC IPM – Scales (Home & Landscape)
- CDC – Water disinfection with chlorine and chloramine