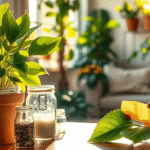
Pothos are sold as near-indestructible beginner plants, and in many ways they are. But if you’ve ever watched one slowly drop yellow leaves despite careful watering, the mix it’s sitting in is often the part nobody mentioned. The wrong soil holds moisture far longer than a pothos root system can tolerate, and what starts as “I watered it regularly” quietly becomes root rot.
In their natural tropical habitat, pothos often grow as climbing vines, using tree trunks and loose organic debris for support rather than sitting in dense compacted soil. Their roots are adapted to significant airflow. In a heavy, moisture-retaining indoor potting mix, those same roots can suffocate. This guide covers a reliable DIY pothos soil mix, how to adjust it for your specific home conditions, the right pot to use, and how to troubleshoot problems when something goes wrong.
Quick Answer: The best soil for a pothos is a chunky, well-draining mix that allows air to reach the roots. A reliable DIY recipe is 40% indoor potting mix (or coco coir), 30% perlite, 20% orchid bark, and 10% worm castings. Avoid using dense, peat-heavy standard potting soil straight from the bag.
Best for: Indoor pothos owners dealing with yellow leaves, slow drying soil, fungus gnats, or root rot risk
Time needed: 10–15 minutes to mix a small batch
Main skills: Improving drainage, adding airflow, measuring soil ingredients, adjusting for home humidity
Best method: Use a chunky mix with potting base, perlite, orchid bark, and a small amount of worm castings
Important: Avoid using dense, peat-heavy potting soil straight from the bag for indoor pothos in low light. If the mix stays wet for 10–14 days after watering, add more perlite or bark before root problems start.
Table of contents
- When standard potting soil works — and when it doesn’t
- A reliable DIY pothos soil mix
- Adjusting the mix for your home
- Pot selection and repotting
- Troubleshooting soil problems
- Final Thoughts on Pothos Soil
- FAQs
- Sources and further reading
When Standard Potting Soil Works — and When It Doesn’t
Standard indoor potting mix isn’t inherently bad — it’s just designed for a wide range of plants in a wide range of conditions, which means it’s a reasonable compromise rather than an ideal match for any specific plant. Most bag mixes lean heavily on finely milled peat moss, which holds moisture for a long time. For a pothos in a dim, cool, indoor room, that can mean soil that stays wet for one to two weeks after watering.
When standard soil is actually fine
Standard mix can work well for pothos in specific situations: a hot, dry climate where soil dries quickly, an unglazed terracotta pot that wicks moisture away faster than plastic or ceramic, or a shaded outdoor spot in summer where the warmth and airflow speed up evaporation. In those conditions, the extra moisture retention becomes an advantage rather than a problem.
When standard soil causes problems
In a typical temperature-controlled indoor room — especially one with low light — heavy potting mix creates conditions where roots sit in waterlogged soil for extended periods. Roots need oxygen to function, and consistently wet soil displaces the air pockets they depend on. The result is roots that can’t absorb water even when it’s present, leading to yellowing leaves that look like underwatering but are actually caused by the opposite. Persistently wet topsoil also creates ideal conditions for fungus gnats, which lay eggs in moist organic material near the surface.
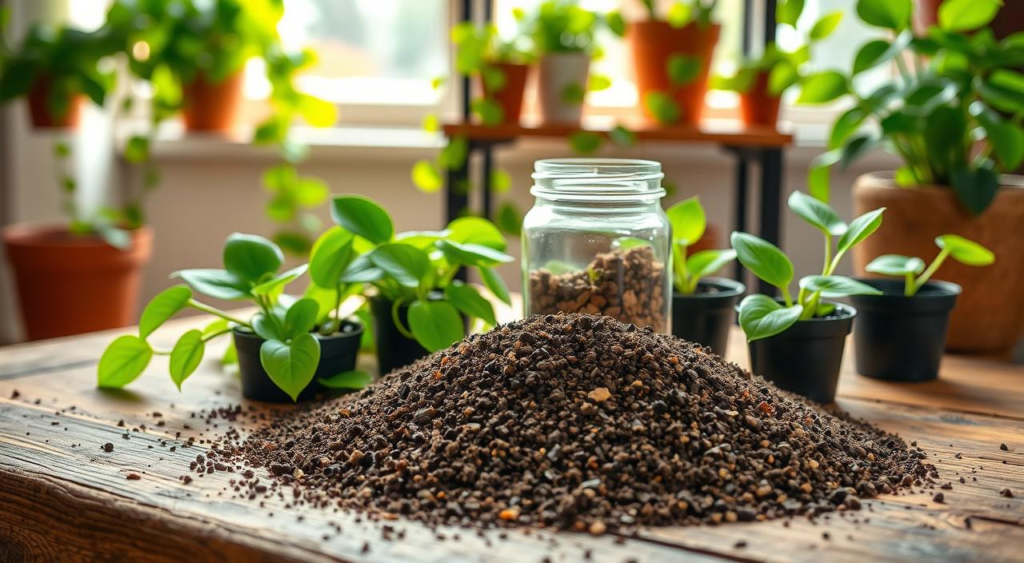
A Reliable DIY Pothos Soil Mix
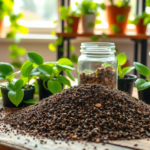
The goal is a mix that drains freely after watering, dries out within a reasonable timeframe, but still holds enough moisture that the plant isn’t stressed between waterings. The following ratio works well for most pothos in typical indoor conditions:
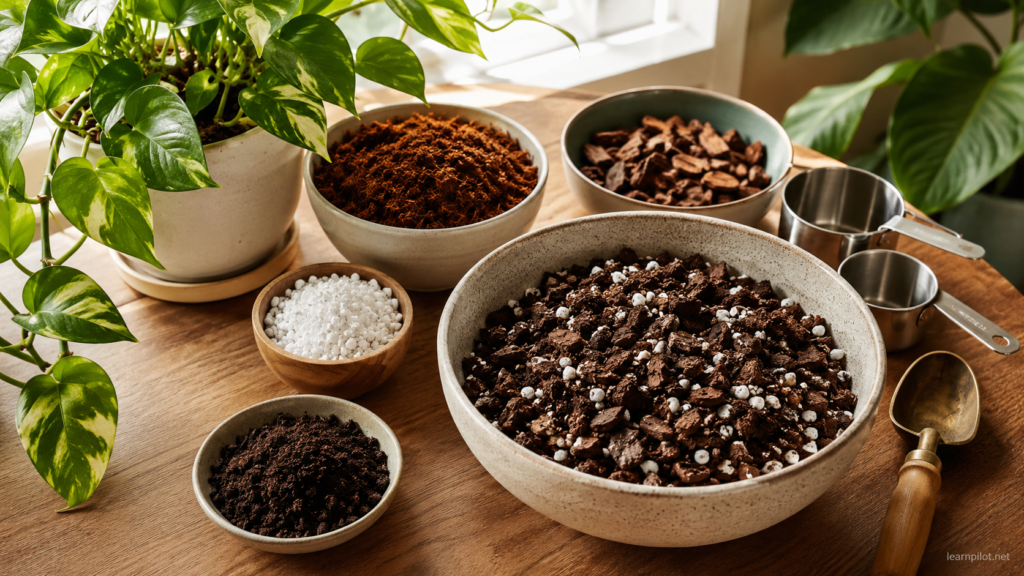
- 40% indoor potting mix or coco coir — the base layer; retains moisture and gives fine roots something to anchor into. Coco coir rewets more easily than peat-heavy mixes if the pot dries out completely.
- 30% perlite — lightweight volcanic material that improves drainage and prevents the mix from compacting over time.
- 20% orchid bark — chunky pieces that create larger air pockets throughout the mix, mimicking the loose bark environment pothos roots are adapted to.
- 10% worm castings — optional, but a useful slow-release nutrient addition; skip it if you prefer to fertilize separately with a liquid feed during the growing season.
To test whether the mix is right, moisten it and squeeze a handful firmly. It should hold its shape briefly, then crumble apart easily when poked. If it forms a dense, muddy clump that doesn’t break apart, add more perlite and bark. If it falls apart the moment you release your hand without holding any shape at all, add a bit more coir.
Adjusting the Mix for Your Home
The same mix behaves differently in different homes. A recipe that dries in six days in a warm, bright room might stay wet for two weeks in a cool, dim apartment. Adjusting for your specific conditions isn’t fussiness — it’s just how soil works in practice, and it makes a real difference to how the plant behaves.
For dry homes with heavy heating or air conditioning
If your home’s humidity regularly drops below 40% — common in winter with central heating running — the standard chunky mix may dry out faster than you’d like, and the plant may wilt every few days even with regular watering. In this case, increase the base soil or coco coir to around 50% and reduce the orchid bark to 10%. The extra moisture-retaining material slows drying time without sacrificing too much drainage.
For humid homes or rooms with humidifiers
If your home regularly runs at 50% humidity or above, the soil will dry significantly more slowly because less moisture evaporates from the pot surface. To compensate, make the mix chunkier: increase perlite to around 40% and bark to 30%, and reduce the base soil to 20–25%. The extra aeration offsets the slower evaporation and gives roots enough air circulation to stay healthy.
Pot Selection and Repotting
A well-made soil mix only performs as intended if the container supports it. The most important rule is straightforward: always use a pot with at least one drainage hole. Without it, excess water pools at the bottom regardless of how good the mix is, and roots in permanent contact with that standing water will rot.
If you want to use a decorative pot that has no drainage hole, use it as a cachepot — keep the pothos in a plain plastic nursery pot with drainage holes, and set that inside the decorative container. Water at the sink, let it drain completely, then return it. This gives you the aesthetic of the decorative pot without trapping water around the roots.
Pot size matters more than most people expect
When repotting, try not to increase the pot diameter by more than 4–5 cm (about 2 inches) at a time. Moving a small plant into a much larger pot leaves a large volume of soil with no roots running through it. That empty soil stays wet for a long time because there’s nothing actively drawing the water out, which significantly increases the risk of root rot even in an otherwise well-draining mix. A slightly snug pot that the roots are beginning to fill is usually a healthier environment than a large pot with plenty of room to grow.
Troubleshooting Soil Problems
When a pothos starts to decline, the soil is often communicating the problem before the plant visibly shows it. Here’s how to read the most common signs.
The mix is too chunky and draining too fast
If water runs straight through the pot the moment you pour it in, and the plant looks wilted just three or four days after a thorough watering, the mix likely has too much bark and perlite relative to the base. Add more coco coir to the mix at the next repotting, or top-dress the current pot with a thin layer of compost to slow surface drying. This is less common than the opposite problem but does happen, particularly in very dry homes.
The mix is staying wet too long
If the soil still feels damp 10–14 days after watering, the mix is too heavy for the conditions. This is the most common pothos soil problem and the most consequential — prolonged wet soil leads to root rot. Early signs include yellowing leaves at the base of the plant and stems that feel soft rather than firm near the soil level. If you’re seeing those symptoms, it’s worth unpotting the plant to check the roots before the damage progresses further.
How to address root rot
If you unpot the plant and find dark, mushy roots — rather than firm, pale ones — root rot has already set in. Remove all the affected roots with clean scissors, allow the cut ends to dry for an hour or two, then repot into fresh mix in a clean container. Wait a few days before watering again to give the roots time to recover. Caught reasonably early, pothos handle this process well and usually bounce back without much lasting damage.
Final Thoughts on Pothos Soil
The soil a pothos grows in has more influence on its long-term health than almost any other single factor. Get the drainage and aeration right, and most of the common problems — yellow leaves, root rot, fungus gnats — become much less likely without any change to watering habits or light levels.
The 40-30-20-10 recipe in this guide is a solid starting point, but don’t treat it as a fixed formula. Use the adjustment notes to fit it to your specific home, watch how quickly the mix dries after watering, and change the ratios accordingly. A mix that’s working correctly should feel like slightly damp forest floor — airy, loose, and never muddy. Once you’ve felt that in your hands a couple of times, it becomes easy to judge by touch alone.
FAQs
Can I just add perlite to a standard bag of potting mix?
Yes, and for most people this is the simplest approach. Adding perlite to a standard bag mix at roughly a 2:1 or 3:1 ratio (mix to perlite) improves drainage noticeably without requiring you to source multiple ingredients. It won’t be as airy as the full DIY recipe, but it’s a meaningful improvement over using the bag mix alone, and it’s an easy starting point if you’re new to adjusting soil.
Is coco coir better than peat moss for pothos?
They perform similarly as a base material, but coco coir has a practical advantage: it rewets more easily after drying out. Peat moss can become hydrophobic when fully dry, meaning water runs off the surface rather than absorbing into the mix — which leads to uneven watering and dry pockets around the roots. Coco coir is also considered a more sustainable option since it’s a byproduct of coconut processing rather than harvested from slow-forming peat bogs.
How often should I repot a pothos?
Most pothos benefit from a fresh mix every 12–18 months, even if they haven’t outgrown the pot. Organic components in the mix break down over time and the structure compacts, reducing the air space the roots rely on. A pot that drained well when fresh can start holding water for much longer after a year or two — the mix has changed even if the watering routine hasn’t. Watch for roots growing out of drainage holes or circling the soil surface as signs that a pot size increase is also needed.
Do pothos need a special mix, or will cactus soil work?
Cactus or succulent mix drains very fast and tends to be too gritty and nutrient-poor for pothos. Pothos do need good drainage, but they also need enough moisture-retaining base to stay hydrated between waterings — a pure cactus mix will dry out too quickly and leave the plant chronically thirsty. The DIY mix in this guide strikes a better balance for what pothos actually need.
Why does my pothos get yellow leaves even though I’m watering correctly?
If you’re confident the watering schedule is reasonable but yellow leaves keep appearing — particularly at the base of the plant — the most likely explanation is that the soil is staying wet for longer than it appears. The surface can feel dry while the core of the pot is still saturated, especially in a dense, compacted mix. Insert a finger 5–6 cm into the soil rather than just checking the surface, or use a wooden chopstick as a moisture probe. If the deeper soil is still wet when you’re planning to water, the mix needs more drainage rather than a different watering schedule.
Should I add fertilizer to the soil mix when repotting?
If your mix includes worm castings or compost, there’s already enough slow-release nutrition to carry the plant for the first few weeks after repotting. Adding extra fertilizer at the time of repotting isn’t necessary and can stress roots that are already adjusting to a new environment. Resume a regular light feeding schedule a month or so after repotting, during the active growing season in spring and summer.
Sources and Further Reading
- North Carolina State University Extension – Epipremnum aureum botanical profile
- University of Georgia Extension – Growing Indoor Plants with Success
- UNH Extension – What is the best soil for potted plants?